
Sub-Total: ₱0.00
If you’ve ever watched a slow-motion video of resin 3D printing, you probably thought, “Is this wizardry or science?” Spoiler: it’s science—but it feels like magic. Resin printers take liquid photopolymer resin and turn it into insanely detailed solid objects. For hobbyists, artists, engineers, and professionals, resin printing unlocks a level of detail and finish that’s hard to beat.
This guide will walk you through how resin printers work, showcase examples from Phrozen and Formlabs, and explain how to pick the right resin for your printer without the trial-and-error headaches.
How Resin Printing Works (and Why It’s Addictive)

While filament-based FDM printers work like hot glue guns, resin printers work like light sculptures. They use a process called photopolymerization—where liquid resin hardens when exposed to a specific wavelength of UV light.
Two main technologies dominate resin printing:
-
LCD/MSLA (Masked Stereolithography) – Uses an LCD screen to mask and cure each layer. This is the specialty of Phrozen printers.
-
SLA (Stereolithography) – Uses a laser to draw each layer with pinpoint accuracy. Formlabs is famous for this method.
The beauty of resin printing lies in the layer smoothness and microscopic detail you can achieve—perfect for miniatures, jewelry, dental models, and high-precision prototypes.
The Resin Printing Process Step-by-Step
-
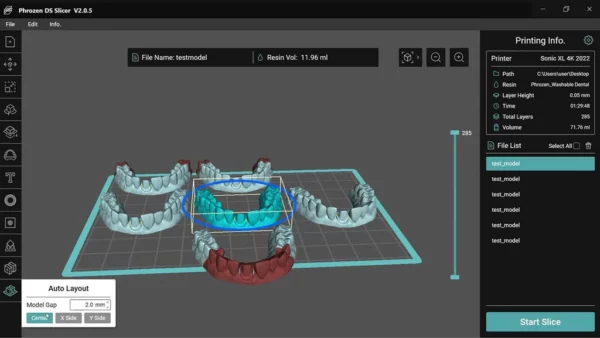
Prepare Your Model and Machine – Slice your 3D model in software like Chitubox, Lychee Slicer, or PreForm (Formlabs). This sets the layer height, exposure times, and supports. Make sure your build plate is flat and your resin vat is at its recommended levels. For LCD printers like Phrozen, you can use most 405mm resins; for SLA printers like Formlabs, use their proprietary cartridges
-
Printing Begins – The printer lowers the build plate into the resin vat. UV light cures the resin layer by layer, lifting the model up like it’s being summoned from a sci-fi portal.
-
Completion – Once the final layer is cured, your model is fully formed but still coated in liquid resin. That’s where post-processing comes in.
Post-Processing: Turning Prints Into Finished Pieces
Resin printing isn’t done when the print finishes—it needs post-processing for safety, strength, and beauty.
-
Remove from Build Plate – Use a scraper to carefully detach your print.
-
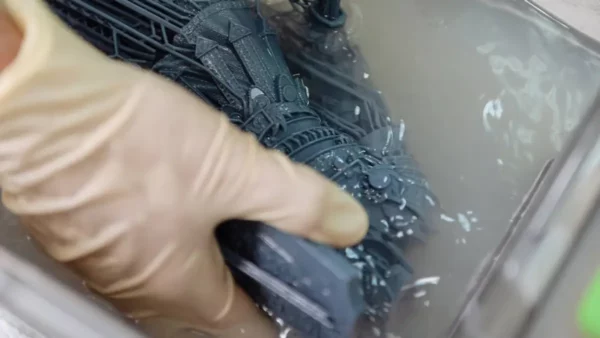
Rinse the Model – Wash it in isopropyl alcohol (IPA) or resin-specific cleaning solutions to remove uncured resin. Some use ultrasonic cleaners for extra thoroughness.
-
Remove Supports – Clip away supports carefully to avoid damaging delicate details.
-
Final UV Curing – Place the print in a curing station or under a UV lamp to fully harden the resin. This improves durability and ensures the surface is safe to touch.
-
Finishing Touches – Sand, prime, and paint if you want a polished, showcase-ready piece.
Pro Tip: Wear gloves during the entire process. Liquid resin can irritate skin, and IPA is best used in well-ventilated areas.
Popular Resin Printers to Get You Started
Phrozen Sonic Mini 8K
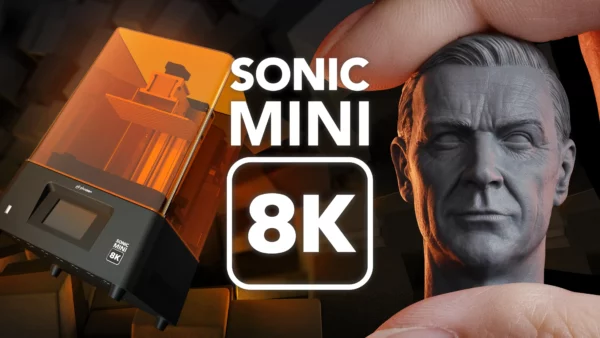
Small but mighty, this printer delivers jaw-dropping detail with an 8K LCD panel. It’s beginner-friendly, budget-friendly, and perfect for printing miniatures or intricate design pieces.
Phrozen Sonic Mighty 8K

The bigger sibling of the Mini 8K, this one gives you more build volume—great for batch printing or larger models without sacrificing detail.
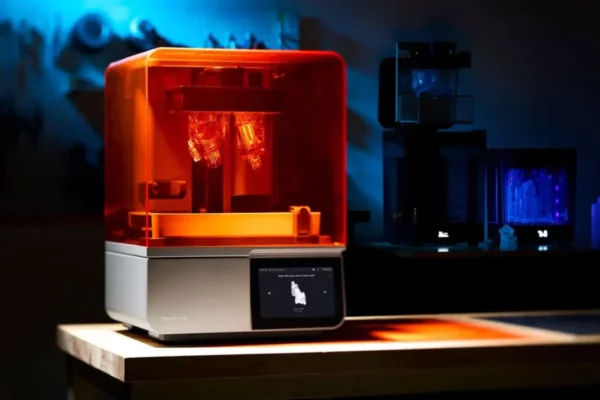
Formlabs Form 3+
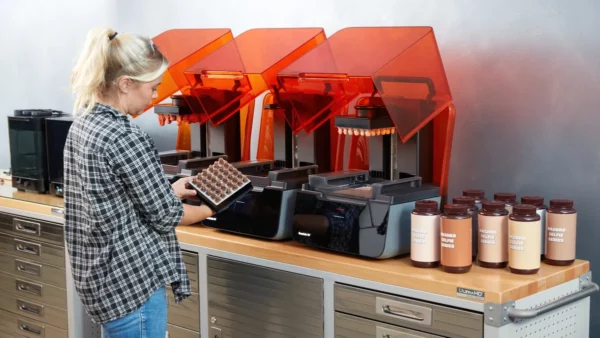
A professional-grade SLA printer that’s known for consistency and reliability. It uses Low Force Stereolithography for ultra-smooth prints, making it a favorite in dental, jewelry, and engineering applications.
Faster printing speeds, smarter resin handling, and even more precision. Ideal for those who want a workhorse printer that can handle production-level workloads.
Understanding Resin Types & Printer Compatibility
Here’s where most beginners trip up: not every resin works with every printer.
Why? Each printer’s light source has a specific wavelength (commonly 405nm for LCD printers) and curing profile. Using an incompatible resin can lead to failed prints or undercured layers.
-
LCD/MSLA Printers (Phrozen) – Compatible with most third-party 405nm resins. This gives you freedom to experiment with brands and resin properties.
-
SLA Printers (Formlabs) – Best paired with Formlabs’ proprietary resin cartridges, which are fine-tuned for their hardware and software.
Common Resin Types for 3D Printing:
-
Standard Resin – Affordable and easy to use. Perfect for general prototyping and decorative prints.
-
ABS-Like Resin – More impact-resistant and slightly flexible. Great for functional parts.
-
Flexible Resin – Rubber-like feel, ideal for grips, gaskets, or wearable parts.
-
High-Temp Resin – Handles extreme heat—good for engineering and mold applications.
-
Castable Resin – Burns out cleanly for jewelry casting or dental crowns.
Quick Tip: Before buying resin, check:
-
Your printer’s light wavelength (usually in the manual or specs page).
-
Whether your printer requires open resin mode or proprietary cartridges.
-
The resin’s curing time range, since even compatible resins may need tweaking in exposure settings.
Why Resin Printing is Worth the Effort
Let’s be real—resin printing involves gloves, IPA baths, and curing stations. It’s messier than filament printing. But the payoff? Smooth, highly detailed prints that look almost injection-molded.
Whether you’re printing a tabletop army of miniatures, intricate jewelry molds, dental aligners, or engineering prototypes, resin printing delivers results that FDM simply can’t match.
Plus, the variety of resins means you can create parts that are flexible, heat-resistant, transparent, or investment-castable—unlocking endless creative possibilities.
Getting Started: The Fun (and Safe) Way

-
Pick Your Printer – Decide between an LCD printer like the Phrozen Sonic series for open resin compatibility, or an SLA printer like Formlabs for turnkey reliability.
-
Choose Your Resin – Start with standard resin before branching into specialized ones.
-
Gear Up – Nitrile gloves, eye protection, and good ventilation are must-haves.
-
Post-Processing – Wash prints in isopropyl alcohol, then cure them under UV light for maximum strength.
-
Experiment – Play with layer heights, exposure times, and resin colors to see what works best.
If Darth Vader’s disturbed about not wearing gloves, then you should probably wear them…
Final Thoughts
Resin printing might look intimidating at first, but once you dive in, it’s hard to go back. Whether you start with a Phrozen Sonic Mini 8K for your first taste of high-resolution printing or invest in a Formlabs Form 3+ for professional-grade results, the combination of the right printer and the right resin will unlock a whole new level of creativity.
From hobbyists to industry pros, resin 3D printing is a game-changer. Just remember—compatibility matters, safety comes first, and the cleanup is worth every stunning print you pull from the vat.